01
Staff sign-in
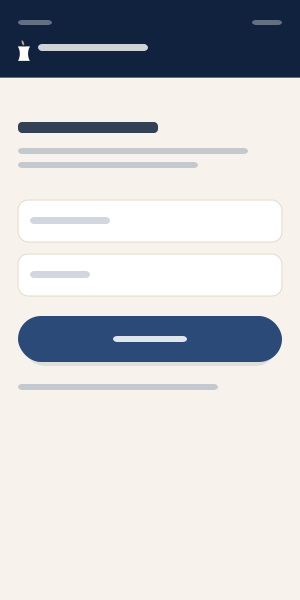
Sign in with the clinic’s registered mobile number and enter the SMS verification code.
Sign in with the clinic’s registered mobile number and enter the SMS verification code.
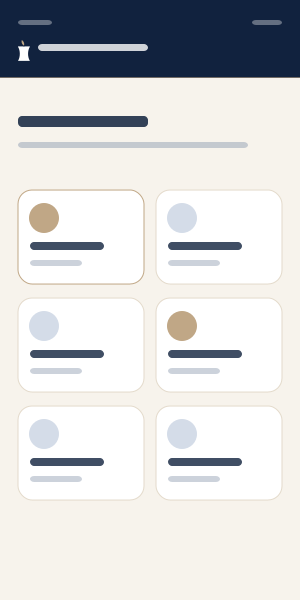
Here you see a list of the app’s capabilities.
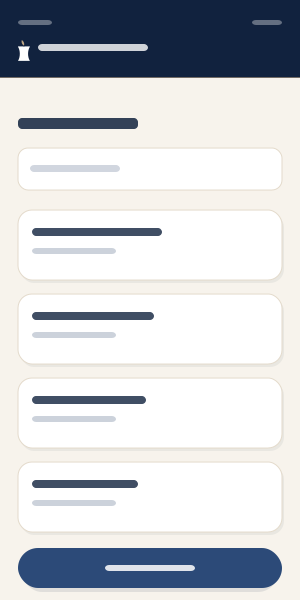
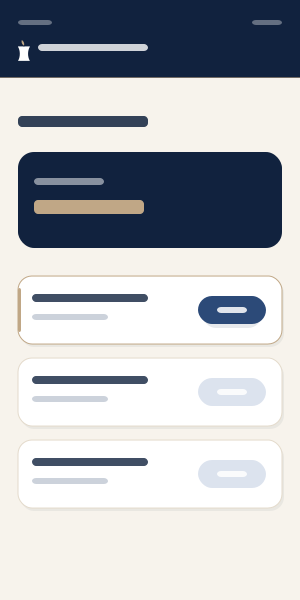
Go to the “Clients” section, search a client by name or phone, or register a new client. Once you find the client, you can send them a direct payment link to buy a face-analysis token. You can also use the “Face analysis” (new capture & analysis), “Report” (latest face-analysis report), or “Review/Label” (label this person’s previous analyses) buttons. To see the full list of this client’s face-analysis reports, tap their name.
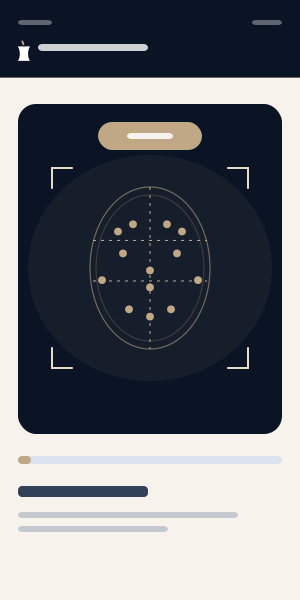
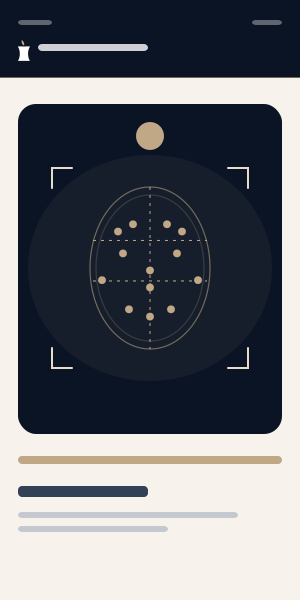
To run a new face analysis, enter the capture flow via “Dashboard → New face analysis,” or “Dashboard → Clients → find client → Face analysis.” After entering the client’s mobile number and confirming their informed consent to capture and processing, you enter automatic capture. Make sure your device allows the app to open the camera.
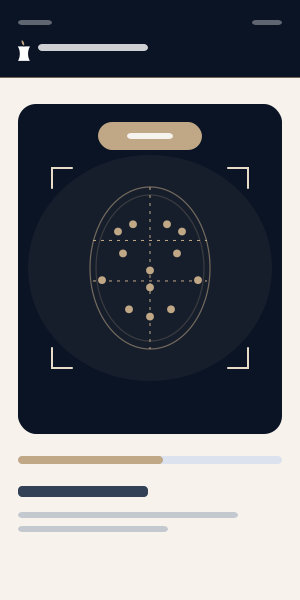
Capture is done in several facial expressions and from multiple views. At each step, ask the client to hold the pose shown below the camera. If a step takes longer than 15 seconds because the client’s face differs too much, a “Manual capture” button appears. For the side, top, and bottom views, ask the client to keep a neutral expression while you move the camera accordingly.
Review the captured images and, if approved, tap “Submit analysis” to send them to the server for processing. If any image is flawed at final review, tap “Restart” to begin capture again. After submission, analysis and report generation happen automatically, and the result is visible in the “Report” section.
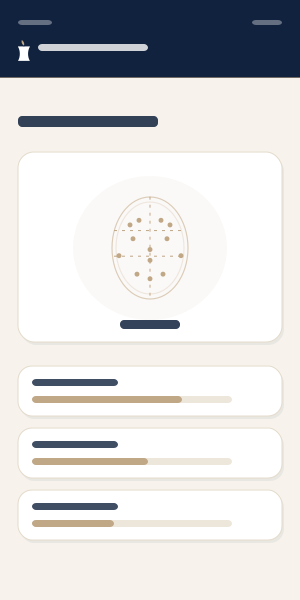
Via “Dashboard → Clients → find client → tap the client’s name,” open the list of their face-analysis reports and select one to view it. Review the metrics; you can also print it by tapping the PDF button at the top. A copy is automatically added to the client’s app so they can access it anytime. Using the “Review” button at the top of the report, you can go to labeling and record any discrepancy or needed change.
Review and label analyses to improve model accuracy; each verified label is recorded toward the stipend.
The images on this page are schematic samples of the app screens. To show the real apps, replace the files in public/guide with actual screenshots (same file names).